

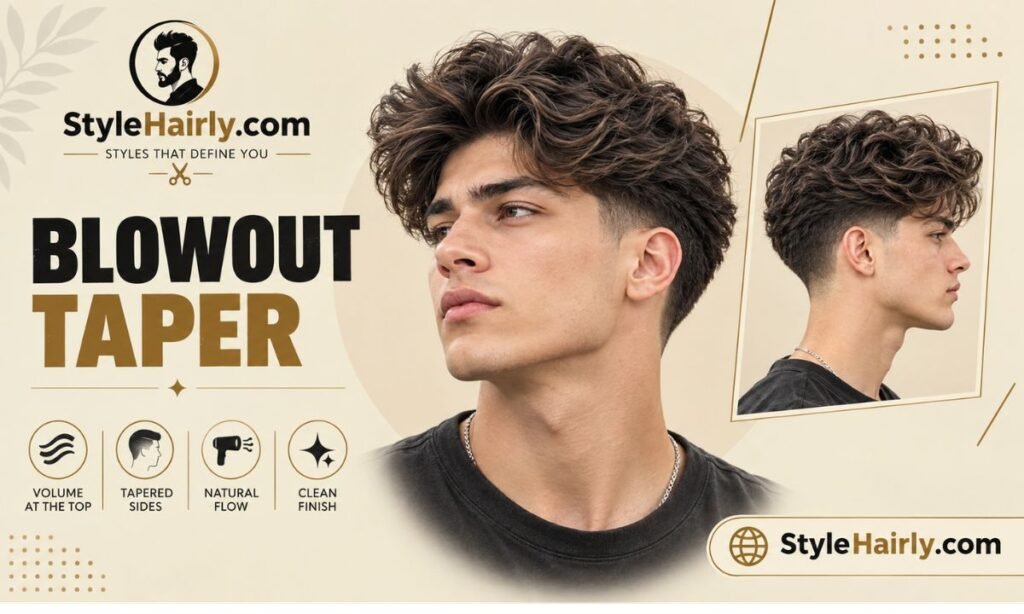
A blowout taper combines a clean taper on the sides and neckline with a full, lifted top that’s blow-dried upward and outward for volume. Getting the shape right depends on three things: enough length left on top to actually blow dry, the right taper height for your hair type, and a round brush technique that lifts from the roots instead of just drying the ends.
This guide walks through the full step-by-step technique, from prep tools to the exact barber method, plus how the routine changes depending on whether your hair is straight, wavy, curly, or coily. You’ll also find fade height options, face shape suitability, and how the blowout taper compares to a pompadour, quiff, or straight skin fade.
At a Glance
| Detail | Quick Answer |
| Minimum top length | 2 to 3 inches |
| Best hair types | Straight, wavy, curly (coily works with adjustments) |
| Fade height options | Low, mid, high |
| Styling time | 5 to 10 minutes daily |
| Maintenance frequency | Every 2 to 4 weeks |
| Key tools | Round brush, blow dryer, volumizing mousse |
| Difficulty to maintain at home | Moderate |
What You Need Before You Start

A blowout taper lives or dies on the styling step, not just the cut. Without the right tools, even a well-cut taper falls flat within hours.
- Blow dryer with a concentrator nozzle for directed heat
- Round brush (boar bristle or ceramic barrel, medium diameter) to lift hair while drying
- Volumizing mousse applied to damp hair before drying
- Heat protectant spray if you blow dry daily
- Matte paste or clay for texture and hold once the shape is set
- Wide-tooth comb or pick for curly and coily hair types
- Clippers with guards (if maintaining the taper at home between barber visits)
How to Do a Blowout Taper: The 5-Step Routine
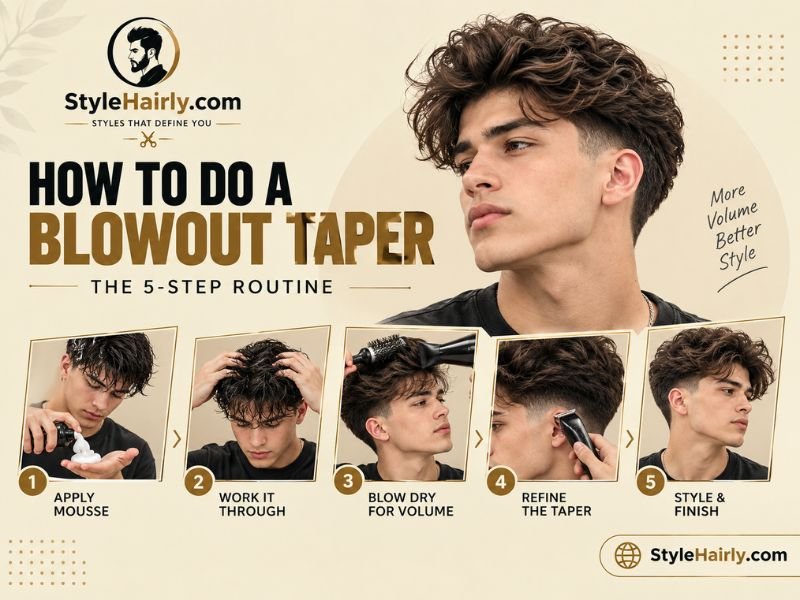
This is the actual sequence, whether you’re doing it yourself at home after a fresh cut or maintaining the look between barber appointments.
- Wash and towel-dry. Start with damp, not soaking wet, hair. Too much water dilutes the mousse and slows drying, which lets hair fall flat before you’ve built height.
- Apply mousse at the root. Work a golf-ball-sized amount through the roots and mid-lengths, focusing on the crown where you want the most lift.
- Rough-dry first. Use the dryer on medium heat without a brush for 30 to 60 seconds to remove excess moisture and set the direction of growth.
- Round-brush section by section. Take small sections, wrap them around the brush, and pull upward and slightly back while the dryer follows the brush. Hold each section for a few seconds of cool air at the end to lock the shape.
- Finish with product. Once fully dry, rub a small amount of matte paste between your palms and work it through the top for texture, without flattening the volume you just built.
How to Do a Blowout Taper by Hair Type
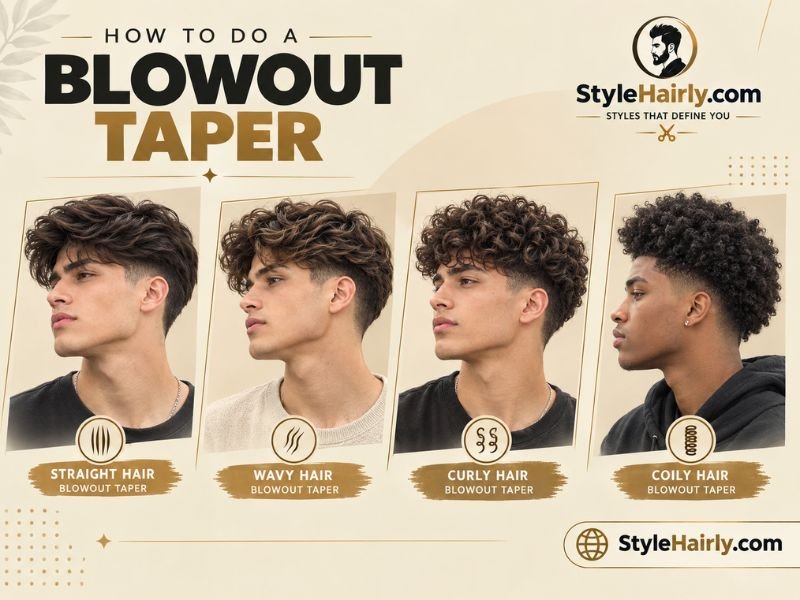
The core technique stays the same, but the tools and expectations shift depending on your natural texture.
| Hair Type | Adjustment Needed | Best Products |
| Straight | Holds the round-brush shape longest; needs firm mousse for lift | Volumizing mousse, light-hold spray |
| Wavy | Natural movement helps the blowout look windswept with less effort | Sea salt spray, texturizing cream |
| Curly | Diffuser attachment keeps curl pattern while adding lift | Curl cream, diffuser, light gel |
| Coily / Afro-textured | Pick and pat into shape rather than round-brush; contrast comes from the taper itself | Wide-tooth comb, foam, matte clay |
| Fine hair | Needs mousse plus a heat-set to hold volume through the day | Root-lifting mousse, flexible-hold spray |
| Thick / coarse | Holds shape for multiple days with minimal touch-up | Light pomade, matte paste |
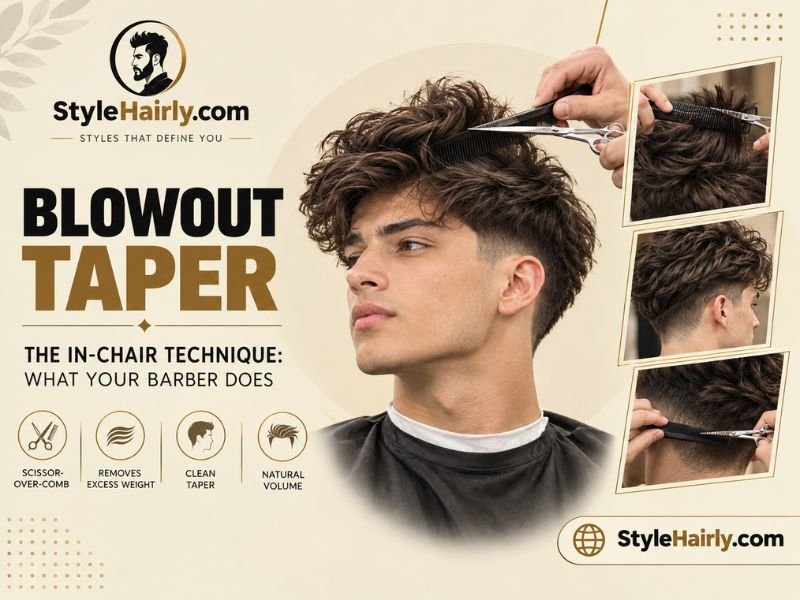
The In-Chair Technique: What Your Barber Does
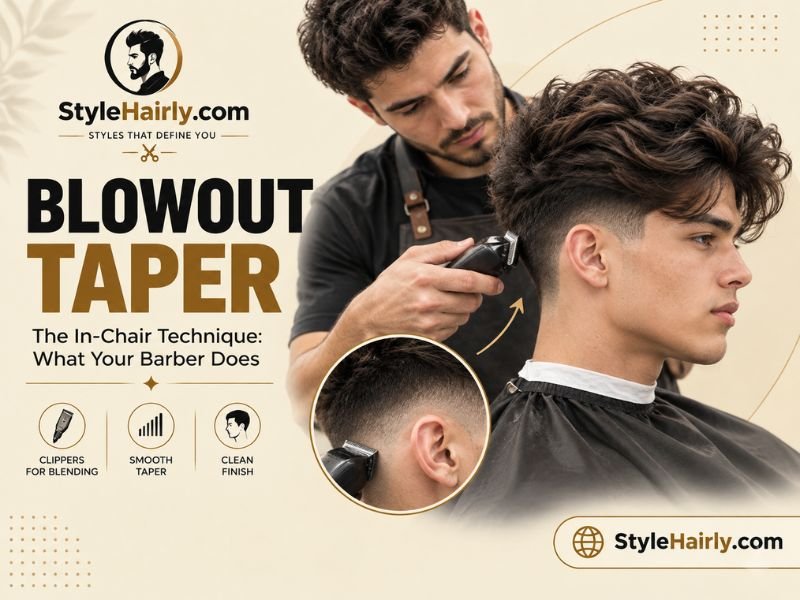
Knowing the barber’s sequence helps you communicate exactly what you want and spot a rushed cut before it’s too late to fix.
- Setting the guideline. The barber establishes where the taper starts, usually just above the ear or at the temple, depending on the height you’ve requested.
- Clipper work on the sides and back. Using graduated guards, they blend the sides from short to long without leaving harsh lines, working with the direction of hair growth.
- Removing weight on top. Scissor-over-comb or point-cutting thins out bulk on top so the hair has movement instead of sitting like a heavy block once it’s dry.
- Blending the connection point. Where the taper meets the longer top, the barber uses a comb-and-scissor technique to soften the transition so there’s no visible line.
- Finishing blow-dry. A good barber blow-dries the top before you leave the chair. If they don’t, ask them to, since a blowout taper without the blow-dry step just looks like an unstyled medium-length cut.
Blowout Taper Fade Heights: Low, Mid, and High
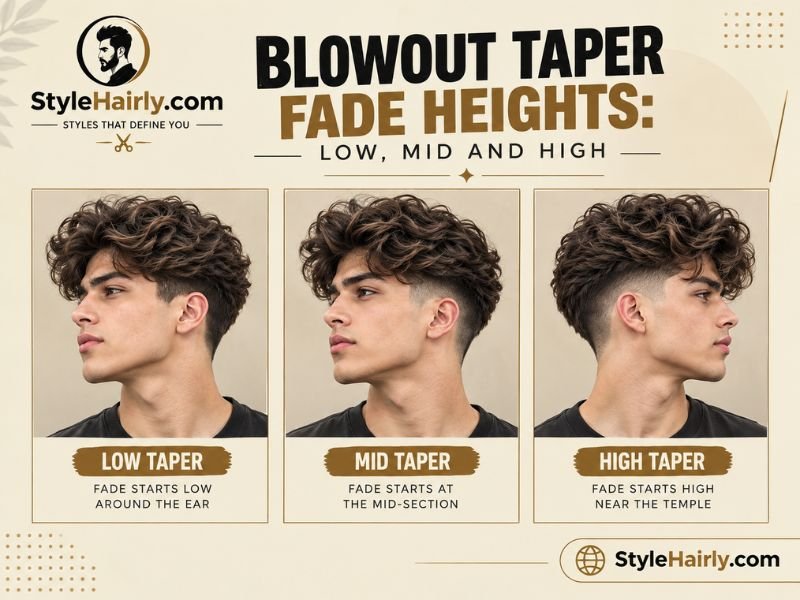
| Fade Height | Where It Sits | Best For | Maintenance |
| Low taper | Just above the ear | Lowest maintenance, subtle contrast, workplace-friendly | Every 4 weeks |
| Mid taper | At the temple line | Balanced look, visible but not extreme contrast | Every 3 weeks |
| High taper | Above the temple, closer to the crown | Maximum contrast, sharpest first-week look | Every 2 weeks |
If you’re not sure which height to pick, mid taper is the safest starting point. It gives enough contrast to look intentional without demanding barber visits every ten days like a high taper does.
Which Face Shapes Suit a Blowout Taper
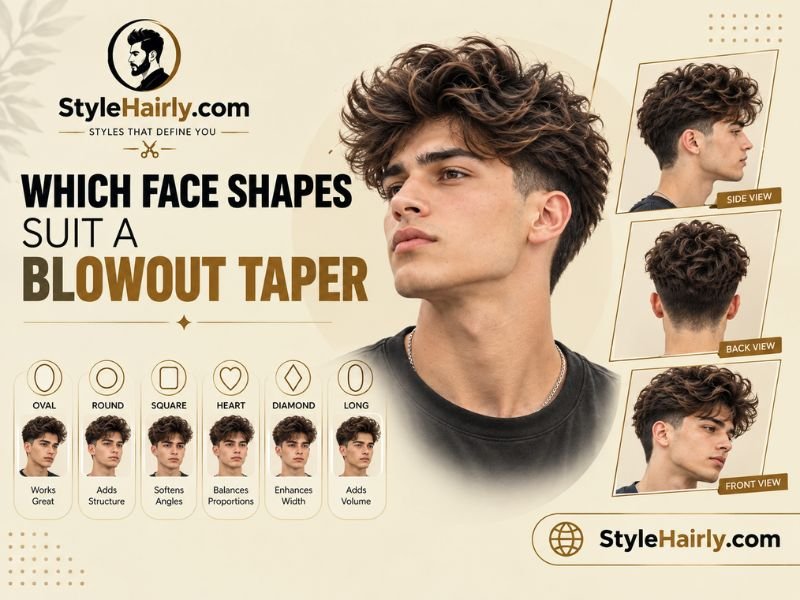
| Face Shape | Suitability | Styling Note |
| Oval | Excellent | Nearly any top length and fade height works well |
| Round | Good | Keep height concentrated at the crown to add length visually |
| Square | Good | A softer, textured top balances a strong jawline better than sharp, structured height |
| Diamond | Good | Angular face shapes pair well with a skin fade version for added definition |
| Rectangular / Long | Moderate | Favor a lower taper and rounder, side-swept volume instead of tall height |
| Heart | Moderate | Off-center volume helps balance a wider forehead |
Blowout Taper vs Other Haircuts
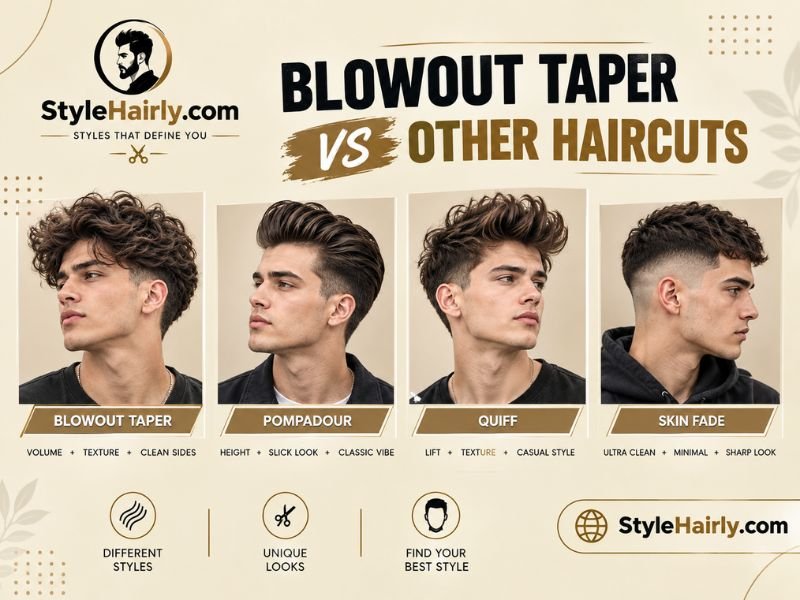
The blowout taper often gets confused with similar-looking cuts. Here’s how it actually differs.
| Haircut | Sides | Top Direction | Key Difference from Blowout Taper |
| Blowout taper | Gradual taper, no skin | Blown up and outward, rounded | All-directional volume across the whole crown |
| Pompadour | Taper or fade | Swept straight back with strong hold | Height concentrated at the front hairline, not the whole crown |
| Quiff | Taper or fade | Pushed up and slightly back | Shorter and less voluminous, more textured than smooth |
| Skin fade | Fades to bare skin | Varies with top style | Sharper, more dramatic contrast at the shortest point |
| Undercut | Sharp disconnection, no blend | Long, often slicked or textured | Abrupt line instead of a gradual blend |
| Slick back | Taper or fade | Flat against the head | No lift or volume; relies on product to lie down, not stand up |
How to Ask Your Barber for a Blowout Taper
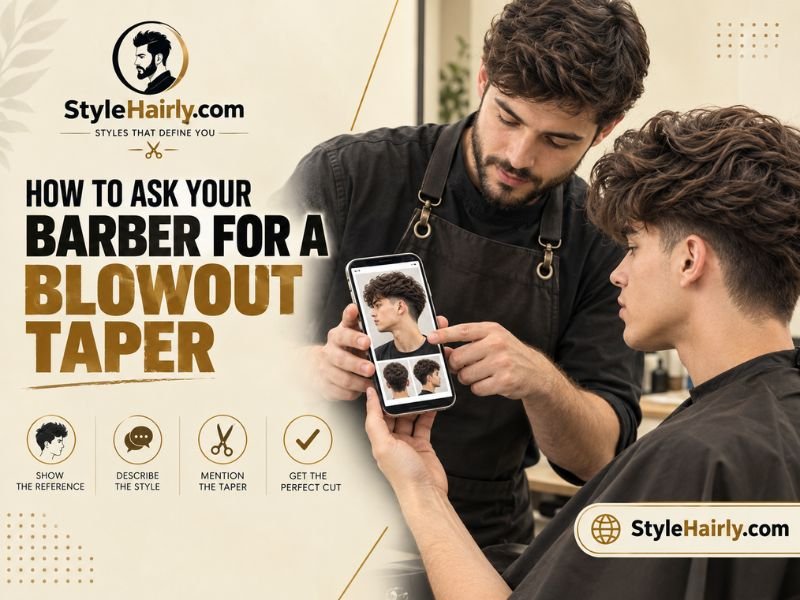
Bringing a reference photo helps, but the right wording avoids miscommunication too.
- “Low blowout taper, clean around the ears and neckline, leave length on top for volume.”
- “Mid blowout taper with texture on top, I want volume but still blended, not boxy.”
- “High blowout taper, but keep the transition smooth so it doesn’t look choppy.”
Always confirm the top length before the first cut starts. Anything under two inches won’t leave enough hair for the blow-dry to actually lift.
Maintenance and Upkeep Schedule
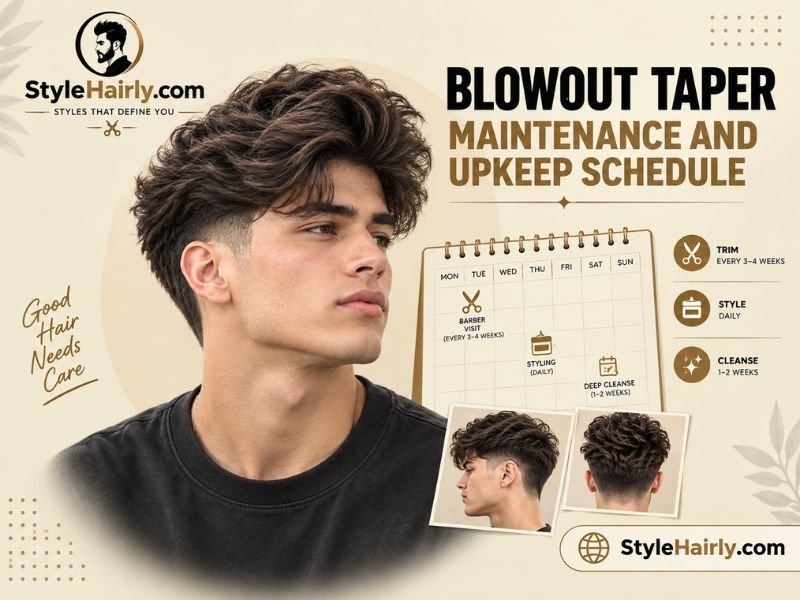
- Every 2 to 4 weeks: Barber touch-up to keep the taper line clean, timing depends on fade height chosen
- Daily: Round-brush blow dry to rebuild volume after washing or sleeping flat
- Every 2 to 3 washes: Deep condition if using heat styling daily to prevent dryness
- As needed: Trim split ends on top every 6 to 8 weeks to keep the blowout shape from looking stringy
Common Mistakes to Avoid
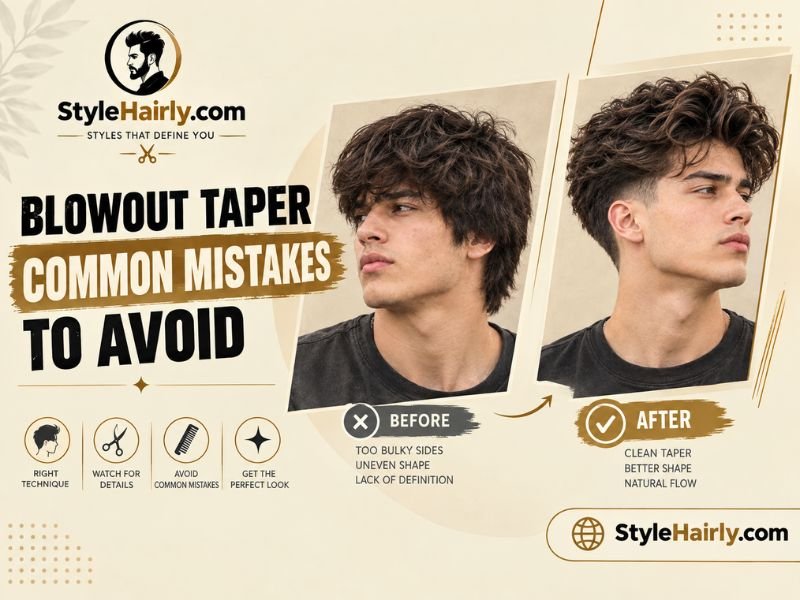
- Cutting the top too short. Under two inches leaves nothing for the blow-dry to lift, and the cut just reads as an awkward medium-length style.
- Skipping the blow-dry at the barbershop. Without it, you can’t tell if the shape was actually cut correctly.
- Choosing a high taper without committing to frequent visits. A high taper looks sharpest in week one and rough by week three without upkeep.
- Using too much heavy product. Thick pomade weighs hair down and kills the volume the round brush just built.
- Round-brushing wet instead of damp hair. Starting too wet extends drying time and lets the shape collapse before it sets.
Frequently Asked Questions
How long does hair need to be for a blowout taper?
At least 2 to 3 inches on top. Anything shorter doesn’t leave enough length for the round brush and blow dryer to build noticeable volume.
Does a blowout taper work with curly hair?
Yes. Use a diffuser attachment instead of a round brush to keep the natural curl pattern while still adding lift and volume.
How often do I need to get a blowout taper trimmed?
Every 2 to 4 weeks depending on fade height. Low tapers can stretch to 4 weeks, while high tapers need touch-ups every 2 weeks to stay sharp.
What’s the difference between a blowout taper and a blowout fade?
A taper blends gradually and never goes to bare skin, while a fade drops to skin at its shortest point for a sharper, more dramatic contrast.
Can I do a blowout taper at home without a barber?
You can maintain the shape at home with a round brush and blow dryer, but the initial cut and taper blend are best done by a barber for a clean result.
Is a blowout taper high maintenance?
The cut itself needs regular barber visits, and daily styling takes 5 to 10 minutes with a round brush. It’s moderate maintenance, not low.
What products work best for fine hair with a blowout taper?
A root-lifting mousse applied before blow-drying, followed by a light flexible-hold spray, helps fine hair hold volume through the day.
Conclusion
A blowout taper comes down to two things done well: a clean taper blend on the sides and enough length on top for a proper round-brush blow-dry. Pick your fade height based on how often you can realistically get to the barber, low for the lowest maintenance, high for the sharpest contrast. Match your styling routine to your hair type, since straight and coily hair need very different tools to get the same lifted, voluminous result on top.

1 thought on “Blowout Taper Haircut: Easy Step-by-Step Guide 2026”