

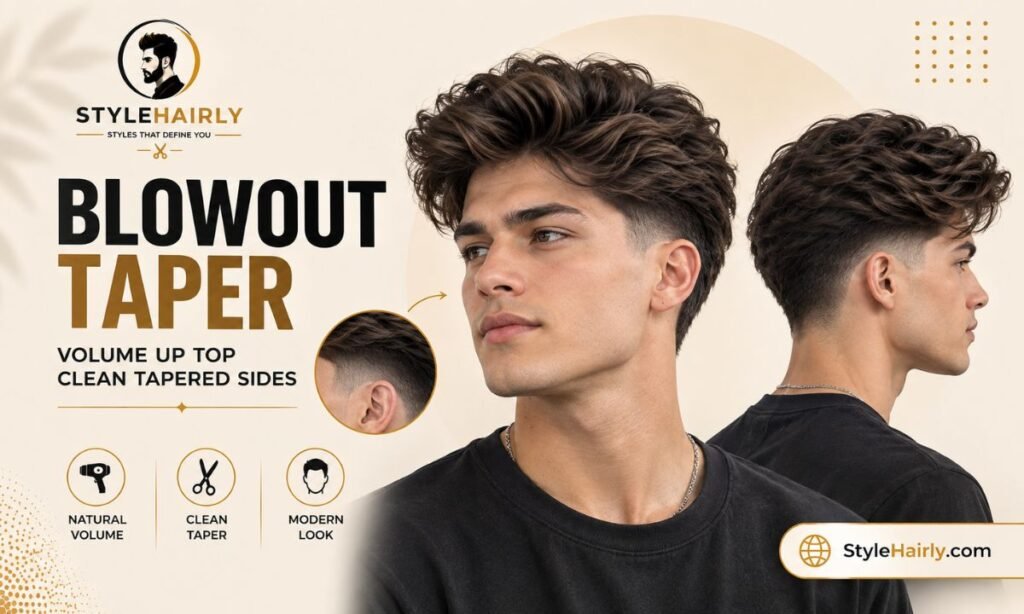
If you have seen a haircut where the sides fade down close to the skin while the top stands up tall and full, you were probably looking at a blowout taper. It is one of the most requested modern men’s cuts because it manages to look sharp and low maintenance on the sides while giving the top serious height and volume. If you are trying to figure out what this cut actually is before you sit in a barber’s chair, this guide breaks down every part of it.
A blowout taper is a haircut that pairs a tapered or faded side and back with a longer, voluminous top that is dried and styled straight up and back, away from the face. The name comes from the “blowout” styling technique, which uses a round brush and blow dryer to lift the roots and create height and volume rather than letting the top hair lie flat.
This guide covers what makes a blowout taper different from a standard taper or fade, how to pick the right taper height for your face and hair type, who this cut tends to suit best, how to explain what you want to your barber, and what to expect in terms of cost, upkeep, and styling time.
Blowout Taper at a Glance
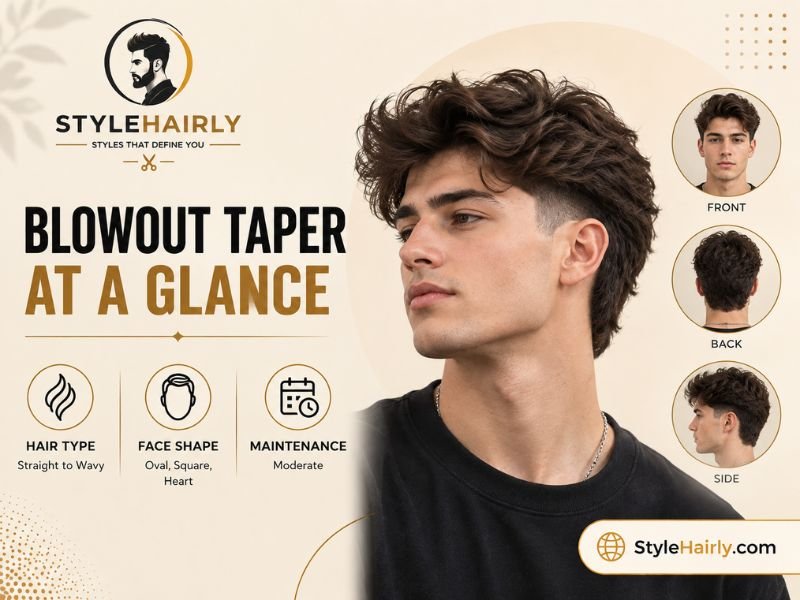
- Best for: Straight to wavy hair with medium to high density
- Hair length needed on top: Roughly 3 to 5 inches
- Face shapes it flatters: Round, square, and oval faces in particular
- Maintenance level: Moderate, with regular trims and daily styling
- Styling time: 5 to 10 minutes with a blow dryer and round brush
- Main feature: A tapered side paired with a high-volume, brushed-back top
What a Blowout Taper Actually Looks Like
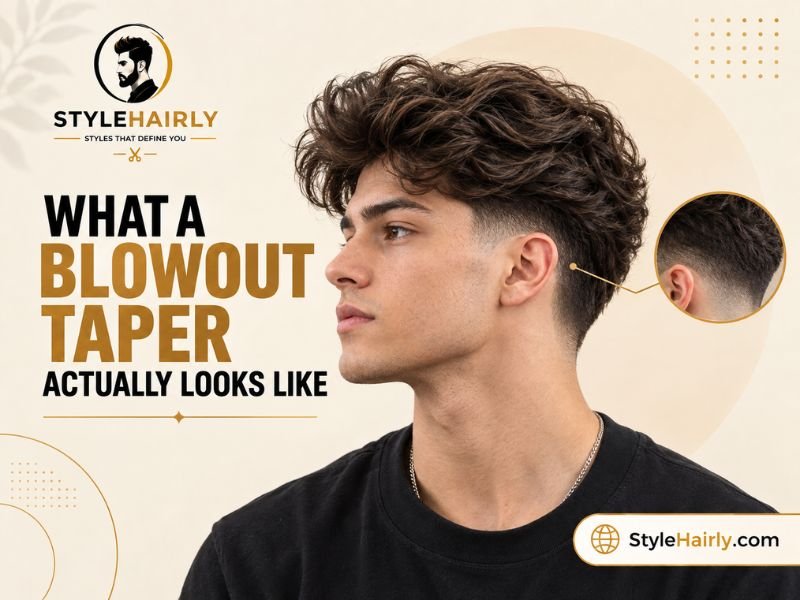
A blowout taper has two working parts. The sides and back are cut in a taper, which means the hair gets gradually shorter as it moves down toward the skin, without necessarily going all the way to bare skin the way a skin fade does. The top is left long enough to have real body, usually somewhere between three and five inches, and it is dried upward and backward using a round brush so the front and crown stand up with volume instead of falling forward.
The result is a style with noticeable contrast. The sides look clean and controlled, while the top has movement, height, and a slightly swept-back finish. It reads as polished rather than casual, which is part of why it shows up often in business settings, weddings, and on-camera looks, alongside more relaxed everyday versions.
Hair Type and Texture Suitability
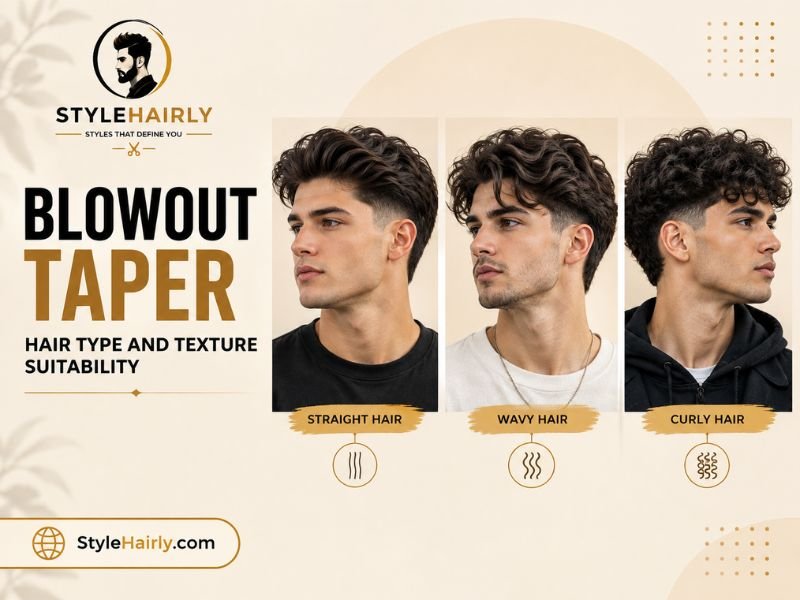
Straight and wavy hair tend to respond best to a blowout taper because a round brush can direct these textures into a smooth, lifted shape without much fighting against natural curl pattern. Fine, straight hair can still work, but it usually needs a volumizing product at the root to hold the lift through the day.
Curly and coily hair can absolutely wear a taper on the sides, but achieving the classic “blown out and back” top usually means the curl pattern will loosen or straighten somewhat once it is brushed and dried in this way. Some people with curlier textures like this trade-off because it gives them a way to enjoy straighter styling occasionally. Others prefer to keep their natural curl pattern and ask for a taper paired with a curl-friendly style instead, such as a textured crop.
Hair density also matters. Medium to thick density on top gives the blowout more visible lift and a fuller silhouette. Thinner or fine hair can still achieve height, but it typically needs a lightweight volumizing mousse or spray applied to damp hair before drying to keep the look from falling flat by midday.
Face Shape Suitability
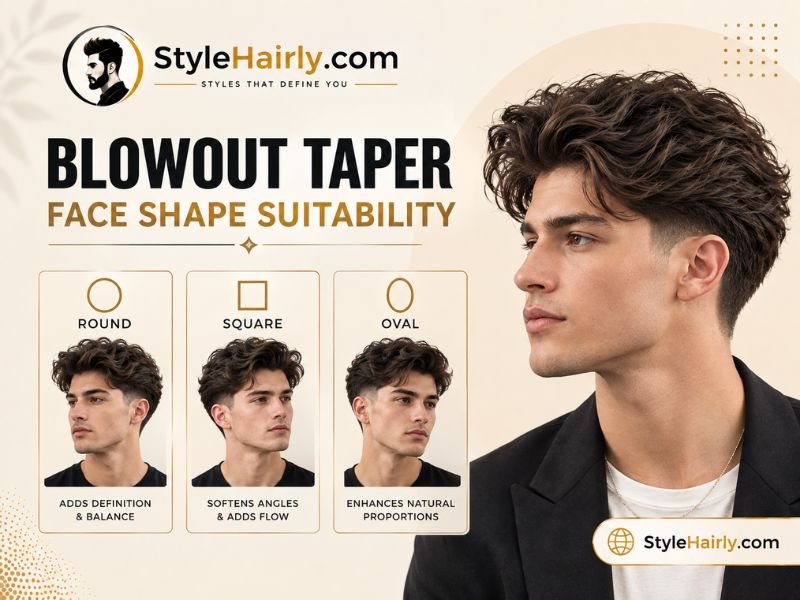
Round faces often benefit from a blowout taper because the added height on top creates the visual effect of length, which helps balance a rounder jawline and cheek area. Square faces can also work well with this cut since the height on top softens the strong angles of the jaw by drawing the eye upward.
Oval faces are considered the most flexible for this style since there is no specific balancing needed, so most taper heights and top lengths will work. Longer face shapes can still wear a blowout taper, but it is usually worth keeping the height on top slightly more moderate rather than very tall, since extreme vertical volume can make a long face look even longer.
How to Style a Blowout Taper
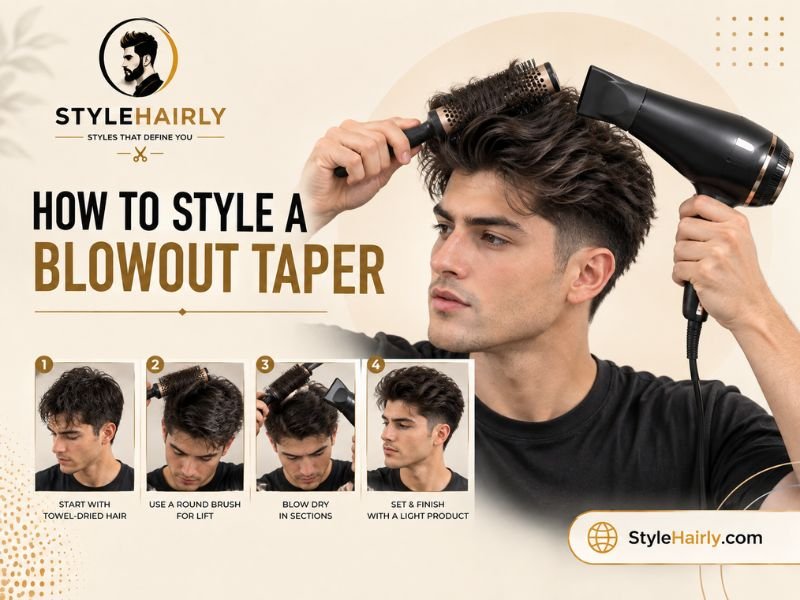
- Start with damp, towel-dried hair. Excess water makes it harder for products to distribute evenly and slows down the styling process.
- Apply a volumizing product at the root. A lightweight mousse or root-lifting spray gives the round brush something to grip and hold once the hair dries.
- Section the top hair and blow-dry with a round brush. Work in small sections, lifting each section at the root with the brush while directing warm air from root to tip. Pull the hair up and slightly back as you dry it.
- Cool-shot the final pass. Most blow dryers have a cool-shot button. A quick blast of cool air after the hot air helps set the shape so it holds longer.
- Finish with a light-hold product if needed. A pomade, clay, or texture spray can add a bit of separation and hold without weighing the top back down.
- Use a heat protectant if you style with heat daily. Regular direct heat without protection can cause the hair to become dry or brittle over time, so a lightweight heat protectant spray before blow-drying is worth the extra step.
Maintenance
Because the sides are tapered rather than left completely long, a blowout taper needs more frequent trims than a cut with uniform length. Most people book a trim every three to four weeks to keep the taper looking clean, since the shorter hair near the hairline and ears grows out visibly faster than the longer top.
Daily maintenance mostly comes down to the blowout itself. Unlike a cut that can be left to air dry and still look intentional, this style depends on the blow dryer and round brush routine to get its signature height, so most people are re-styling it most mornings rather than relying on the previous day’s shape.
Pros and Cons
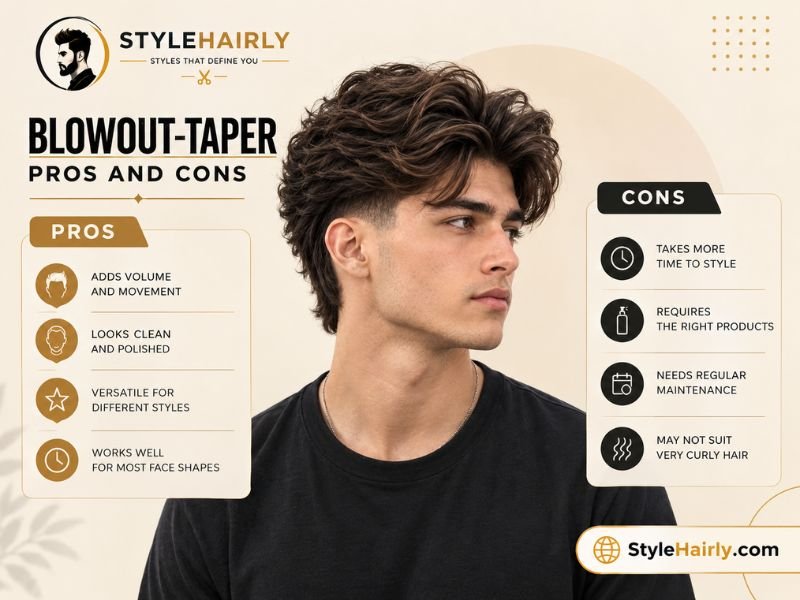
Pros
- Creates noticeable height and volume without needing hair extensions or thickening treatments
- The tapered sides stay lower maintenance between trims compared to longer side lengths
- Works well for both formal and casual settings depending on how much volume is styled in
- Gives fine or straight hair a way to look fuller
Cons
- Requires daily styling time with a blow dryer and round brush to recreate the look
- Needs more frequent trims than cuts without a taper
- Curly and coily textures may need to accept some loosening of curl pattern to achieve the classic blown-back top
- Humidity and moisture can shorten how long the volume holds through the day
Blowout Taper vs Regular Taper or Fade
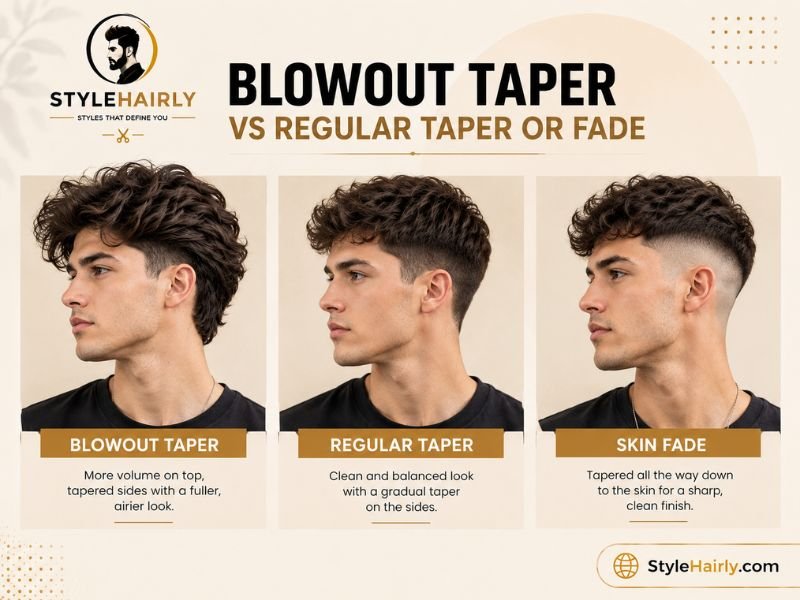
| Feature | Blowout Taper | Regular Taper | Skin Fade |
| Side and back finish | Gradual taper, not always down to skin | Gradual taper, subtle fade | Fades completely to bare skin |
| Top length | Long, usually 3 to 5 inches | Varies, often shorter | Varies, often shorter |
| Top styling | Blown out and lifted with a round brush | Combed, textured, or left natural | Combed, textured, or left natural |
| Daily styling time | 5 to 10 minutes with heat tools | Often under 5 minutes | Often under 5 minutes |
| Best suited hair | Straight to wavy, medium to thick | Any texture | Any texture |
| Overall look | Polished, high volume, more formal | Clean, versatile, casual to formal | Sharp, bold contrast |
The main difference is not really the taper itself. Most tapers on the sides can look fairly similar. The real difference is what happens on top. A regular taper or fade leaves the top to be styled in whatever way suits the wearer, from textured and messy to slicked down. A blowout taper specifically pairs the taper with a blown-back, voluminous top, which is why it tends to photograph as more polished and put together.
The Two Halves of a Blowout Taper
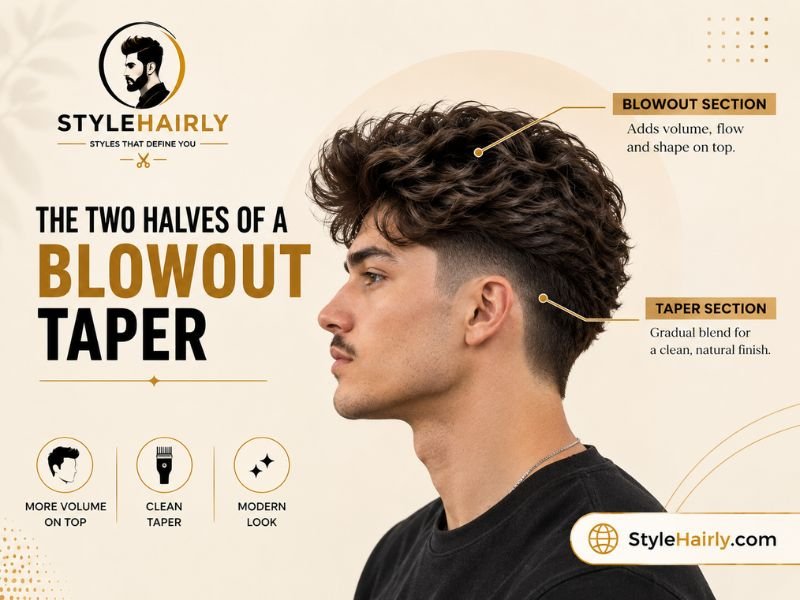
Every blowout taper is really two separate decisions working together. The first is what happens on the sides and back with the taper itself, and the second is how the top is dried and styled. Understanding both halves makes it much easier to communicate what you want to a barber and to recreate the look at home.
1. The Taper (The Cut)
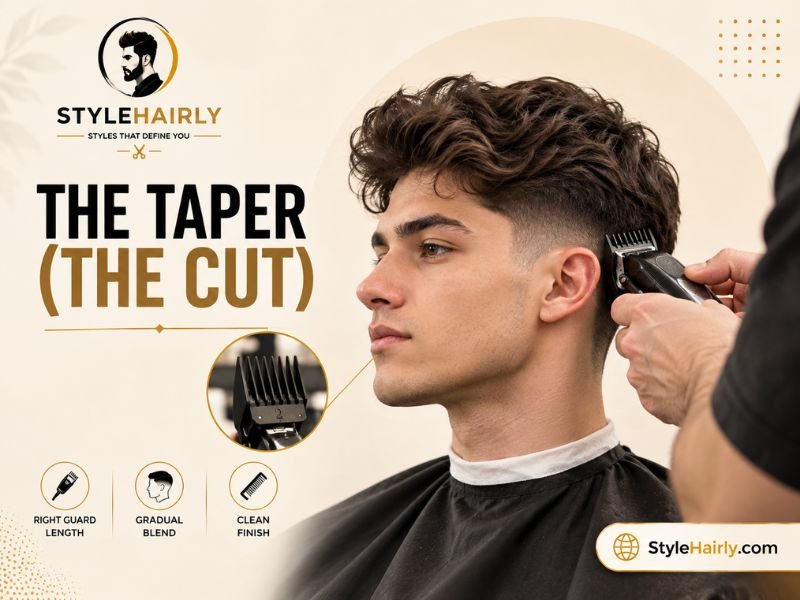
The taper portion is handled with clippers and typically graduates from shorter hair near the hairline and ears up to longer hair that blends into the top. Barbers usually use clipper guards in sequence, moving from a shorter guard near the bottom to a longer one closer to the crown, to create a smooth gradient rather than a hard line.
Best for: Anyone who wants clean, low-bulk sides without the stark contrast of a skin fade. Styling tip: A gentle taper needs almost no daily maintenance on the sides since there is no length to comb or product to apply there. Maintenance: Trim every 3 to 4 weeks to keep the gradient from growing out and looking uneven.
2. The Blowout (The Styling)
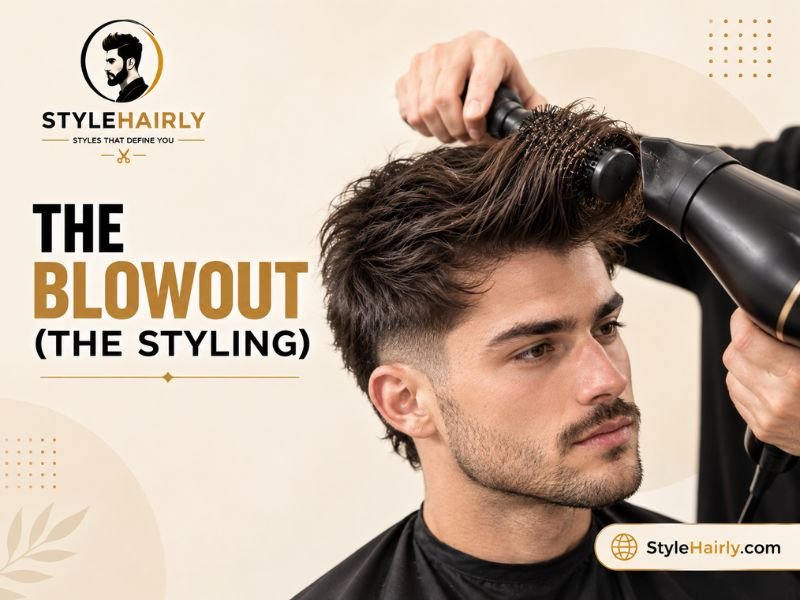
The blowout portion is where the top hair gets its signature lift. This is done with a round brush, a blow dryer, and usually a root-lifting product applied while the hair is still damp. The brush lifts each section at the root while warm air sets the shape, and the direction of the brush stroke determines whether the final look leans more straight-up or swept-back.
Best for: Straight to wavy hair with at least medium density that can hold a lifted shape once dried. Styling tip: Work in small sections rather than trying to dry the whole top at once, since smaller sections hold heat and shape more evenly. Maintenance: Expect to restyle the blowout most mornings, since it typically does not survive a night’s sleep the way a shorter, product-set style might.
Choosing Your Blowout Taper Height
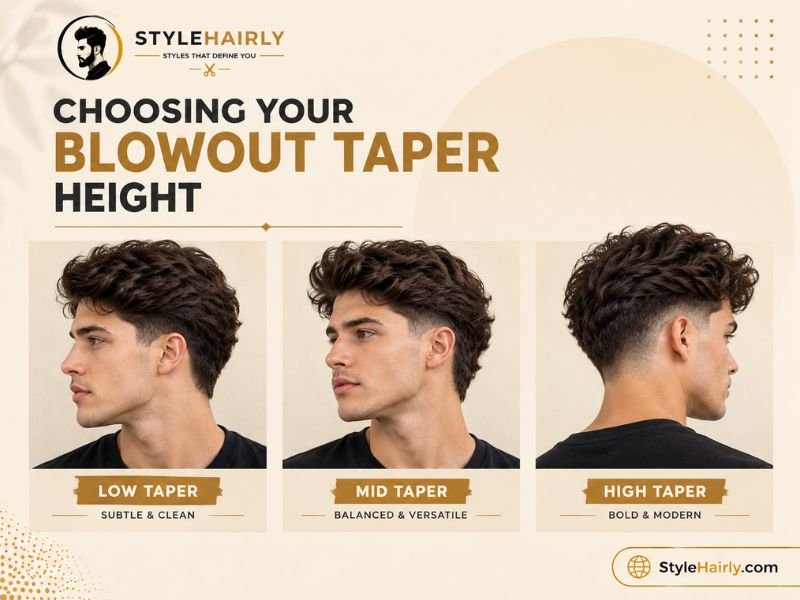
The height of the taper, meaning how far up the sides the fade or taper travels before blending into the top, changes the overall look quite a bit. A low taper keeps the graduated section close to the ears and neckline, leaving more length above it. A mid taper starts the graduation around the temple area, and a high taper pushes the shorter hair further up the head before blending into the longer top.
Low tapers tend to look the most subtle and versatile, which makes them a common choice for workplaces with more traditional dress codes. Mid tapers offer a balance between subtle and bold, showing a bit more contrast without looking dramatic. High tapers create the most contrast between the sides and the voluminous top, which tends to draw more attention to the height of the blowout itself.
Best for: Low tapers suit conservative or formal settings; mid tapers suit most everyday looks; high tapers suit anyone who wants the blowout height to be the clear focal point. Styling tip: The higher the taper, the more the top volume will stand out, so pair a high taper with slightly less aggressive root lifting if you want a more wearable, everyday result. Maintenance: Higher tapers generally show regrowth faster near the temple area and may need trims closer to the three-week mark rather than four.
Who Does a Blowout Taper Suit?
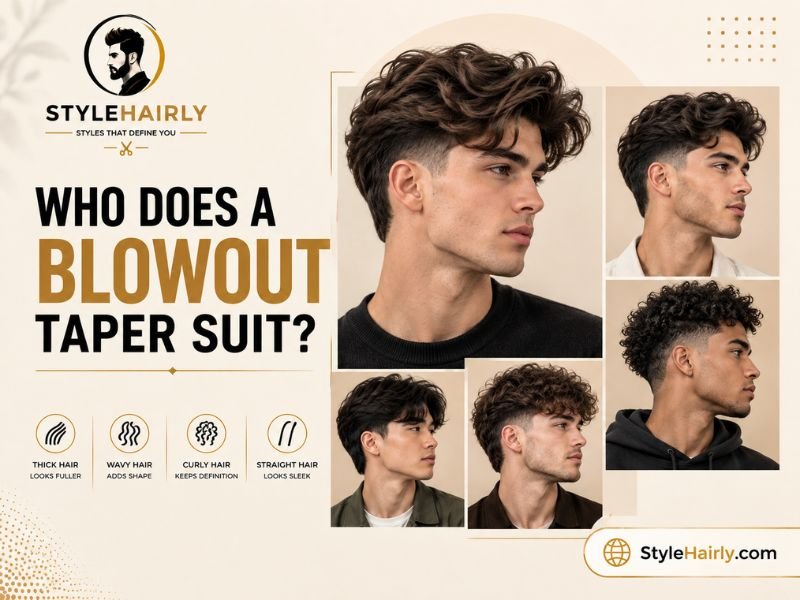
This cut tends to suit people who do not mind spending a few extra minutes on their hair each morning and who have hair that can hold a lifted shape once dried. It works particularly well for straight to wavy hair with medium to thick density, and for round, square, or oval face shapes that benefit from added vertical height.
It may be a less practical choice for anyone who prefers to air dry their hair and go, since the signature look depends on active styling rather than natural drying. Very fine, thin hair can still wear this cut, but it typically needs extra product support to hold volume through a full day. Curlier textures can wear the taper portion just as well as anyone, though achieving the fully blown-back top usually means working with, rather than against, some loosening of the natural curl pattern.
Best for: People with straight to wavy, medium to thick hair who are comfortable with a daily blow-dry routine. Styling tip: If mornings are tight on time, ask your barber about a slightly shorter top length, since shorter hair on top generally takes less time to blow out than hair closer to the five-inch range. Maintenance: Budget five to ten extra minutes in your morning routine compared to a wash-and-go style.
What to Say in the Chair
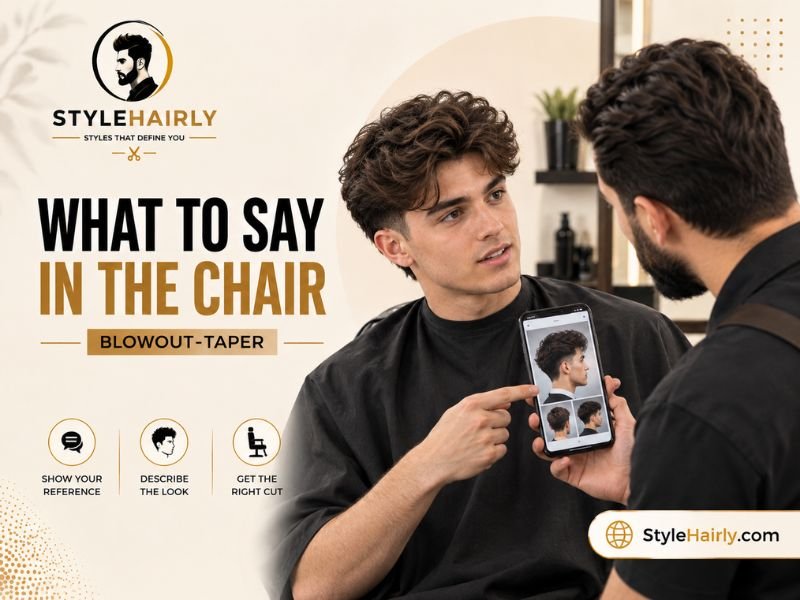
Getting a consistent result from visit to visit comes down to how clearly you describe the cut, since “blowout taper” alone can be interpreted differently by different barbers. It helps to be specific about both halves of the cut separately.
For the taper itself, mention the height you want, such as low, mid, or high, and whether you want it to fade closer to skin or stay softer and more blended. For the top, specify the length you want to keep, generally in inches, and mention that you want enough length to blow out and lift, not just leave long. It also helps to bring a reference photo, since visual examples reduce the chance of a miscommunication about how much volume or height you are picturing.
A few points worth covering directly with your barber:
- The taper height: low, mid, or high
- Whether you want a hard part line or a soft blend
- How much length to leave on top, ideally in inches
- Whether you want the sides tapered only, or want any texturizing on top as well
- Any face-framing or fringe area you want left slightly different from the rest of the top
Best for: First-time visits to a new barber or any time you are trying to correct a previous cut that did not turn out the way you wanted. Styling tip: Bring one or two reference photos rather than a verbal description alone, since barbers are visual professionals and photos remove most of the guesswork. Maintenance: Keep a photo of your preferred version saved so you can quickly reference it at each future appointment.
What Is a Blowout Taper Going to Cost and Require?
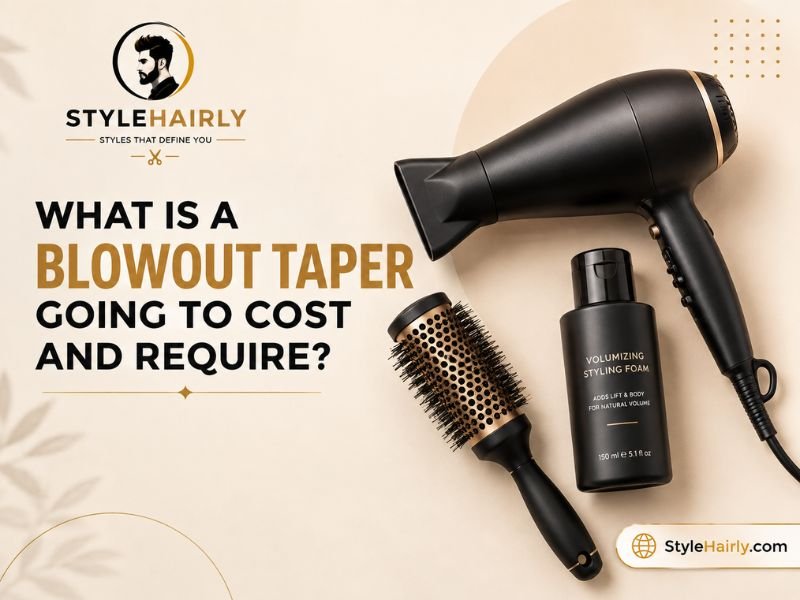
Pricing for a blowout taper is typically similar to any other taper or fade haircut, though some barbershops charge slightly more if the appointment includes a full styled blowout finish rather than just the cut itself. In many areas, a standard men’s haircut with a taper runs somewhere in the range of a regular barbershop cut, while add-on styling services can carry an extra charge.
Beyond the haircut cost, the ongoing requirement is really about tools and time. At minimum, recreating the look at home requires a blow dryer, a round brush sized appropriately for your hair length, and a root-lifting or volumizing product. A heat protectant is also worth adding if you are styling with heat most days. Time-wise, plan for five to ten minutes each morning once you get comfortable with the technique, plus a trim roughly every three to four weeks to keep the taper looking sharp.
Best for: Anyone weighing whether the extra styling time and tool investment fits their daily routine before committing to the cut. Styling tip: A basic round brush and dryer combination is enough to start. There is no need for professional-grade tools to get a solid result. Maintenance: Factor in both the recurring trim cost and the one-time cost of a round brush and volumizing product when budgeting for this style.
Frequently Asked Questions
Is a blowout taper good for thin hair?
It can work, but thin hair usually needs help from a root-lifting or volumizing product to hold the lift through the day. Without added product support, fine hair may lose its height faster than thicker hair.
Does a blowout taper work on curly hair?
The taper portion works on any hair type. The blown-back top typically loosens curl pattern somewhat during styling, so people who want to keep their natural curl fully intact may prefer pairing the taper with a different top style instead.
What face shape is best for a blowout taper?
Round and square faces often benefit the most because the added height balances wider or more angular features. Oval faces are flexible and generally suit most taper heights and top lengths.
Is a blowout taper high maintenance?
It is moderate maintenance. The sides need regular trims every three to four weeks, and the top needs a daily blow-dry routine to recreate the volume, so it is more involved than a wash-and-go cut but not as demanding as chemically treated styles.
How do I style a blowout taper at home?
Start with damp hair, apply a volumizing product at the root, then use a round brush and blow dryer to lift each section upward and back, finishing with a cool shot to help set the shape.
What should I ask my hairstylist for?
Specify the taper height (low, mid, or high), how much length to leave on top in inches, and whether you want a hard part or soft blend. Bringing a reference photo helps avoid miscommunication.
How long does a blowout taper last before needing a trim?
Most people need a trim every three to four weeks. Higher tapers tend to show regrowth sooner near the temple area, while lower tapers can sometimes stretch closer to the four-week mark.
Conclusion
A blowout taper works because it combines two things that are individually simple, a graduated taper on the sides and a lifted, blown-back top, into a style that looks more polished than either element alone. If you have straight to wavy hair with decent density and do not mind a few extra minutes with a round brush each morning, it is a strong option for both everyday wear and more formal occasions. If you prefer a lower-effort routine or want to keep a natural curl pattern intact, it is worth discussing taper height and top length with your barber to find a version that fits your daily habits rather than fighting against them. The most reliable way to get a consistent result is clear communication in the chair, ideally backed up with a reference photo, along with regular trims to keep the taper from growing out unevenly.

1 thought on “What Is a Blowout Taper? 5 Top Facts Before Your Next Cut”