

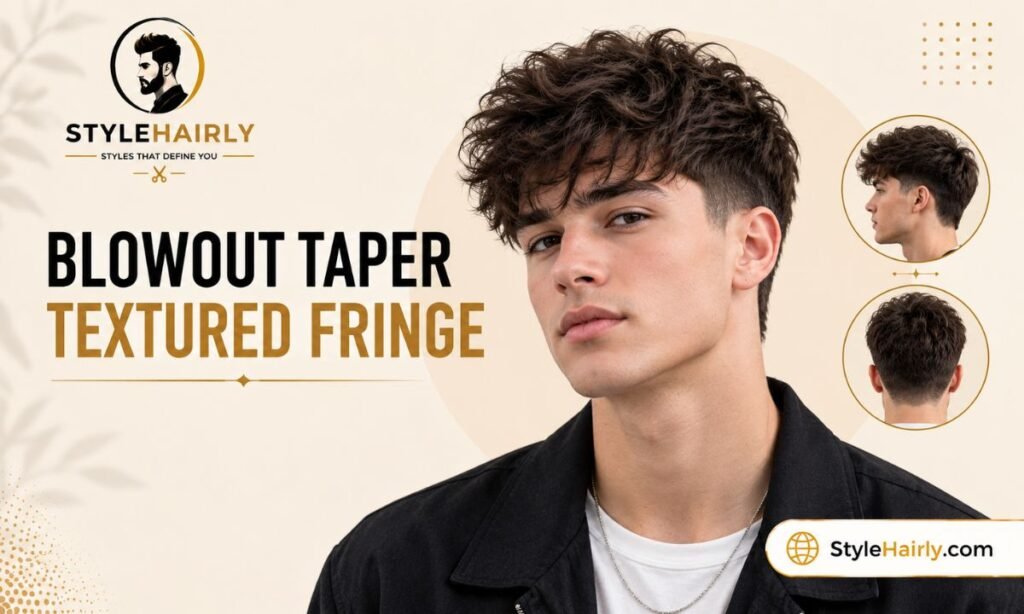
A blowout taper textured fringe is one of those cuts that looks effortless in photos but actually depends on a specific blow-drying routine to look right day to day. If you have grown out the sides into a clean taper and kept enough length on top to push forward into a piece-y fringe, you already have the raw material. What is usually missing is the technique that turns flat, freshly washed hair into the lifted, textured shape barbers show in their portfolio photos.
This guide breaks down exactly what the cut is, who it tends to work best for, and the blow-dry sequence that gets you from wet hair to a finished, matte-textured fringe. It also covers what to tell your barber so you leave with a cut that is actually easy to maintain, plus a realistic look at how often you will need to touch it up.
Along the way you will find hair type and face shape guidance, a short comparison with two related cuts, a step-by-step styling routine broken into five stages, and answers to the questions people most often ask about this style.
Blowout Taper Textured Fringe at a Glance
| Category | Details |
| Best for | Straight to wavy hair with medium to high density |
| Hair length needed | Enough top length to push forward past the brow, usually 2 to 4 inches |
| Hair types | Works on fine, medium, and thick hair; more difficult on very curly hair |
| Maintenance | Regular trims every 3 to 5 weeks to keep the taper clean |
| Styling time | 5 to 10 minutes with a round brush and dryer |
| Main feature | Lifted crown with a forward-swept, textured fringe over a tapered side |
What Defines a Blowout Taper Textured Fringe
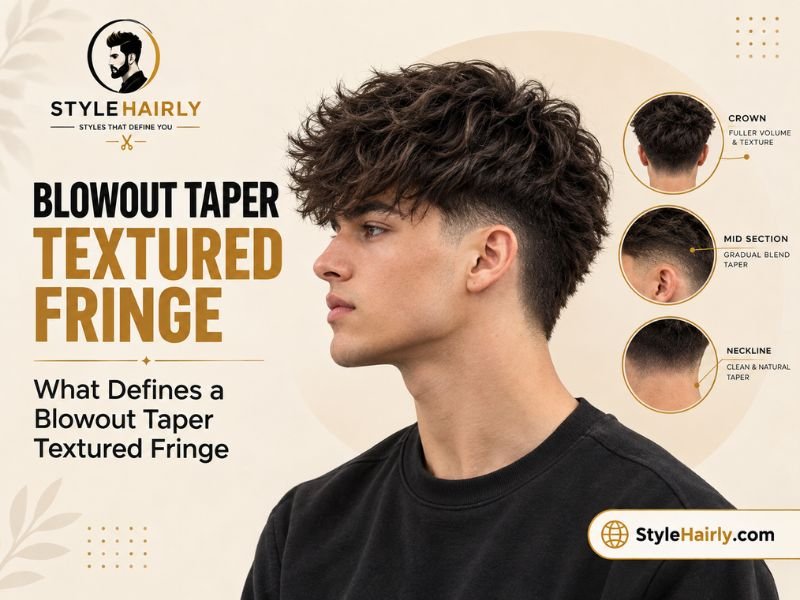
A blowout taper textured fringe combines two separate elements: a tapered fade on the sides and back, and a longer top section that is blow-dried into volume before being pushed forward into a fringe with disconnected, textured ends. The word “blowout” refers to the styling method, not a length category. The hair on top is dried with lift at the root, then directed forward so the fringe sits with movement instead of lying flat against the forehead.
The taper itself usually starts short at the neckline and gradually lengthens toward the crown, without the hard line you see in a skin fade. This keeps the transition into the longer top hair smooth rather than abrupt. The fringe section is cut with point cutting or texturizing shears so the ends look broken up rather than blunt, which is what allows the front to separate into pieces once product is applied.
Hair Type and Texture Suitability
This cut relies on the hair being able to hold a lifted shape at the root while still separating into pieces at the ends, so texture and density both matter.
- Straight hair: Takes the blowout technique well because a round brush can create lift that straight hair holds fairly well once it cools. The fringe usually needs a texturizing product to keep it from falling flat again within an hour.
- Wavy hair: Often the easiest texture to work with here. The natural bend gives the fringe movement without much extra effort, and the crown lift blends naturally with the wave pattern.
- Curly hair: Can still wear a version of this cut, but the blowout step becomes more about smoothing and directing the curl pattern than creating volume from scratch. A diffuser attachment and a firm hold cream generally work better than a straight nozzle attachment.
- Fine hair: Benefits the most from the root-lift step, since fine hair tends to fall flat without it. A lightweight volumizing spray applied to damp roots helps the shape last longer.
- Thick or dense hair: Holds the shape well but can end up heavy on top if the barber does not thin it out with texturizing shears. Ask specifically for weight removal in the fringe area if your hair is on the thicker side.
Face Shape Suitability
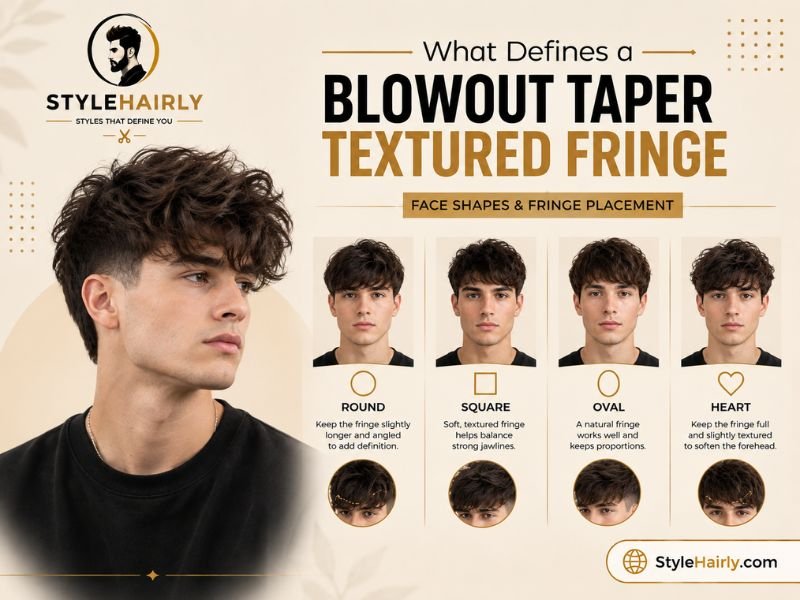
The forward fringe and lifted crown change the visual proportions of the face, so face shape plays a real role in how this cut reads.
- Oval faces: Generally handle this cut well in almost any fringe length, since an oval face shape does not need much visual correction.
- Round faces: Tend to look better with more height at the crown and a fringe that stays slightly off the forehead rather than one that sits low and heavy, since added vertical lift helps elongate the face.
- Square faces: Often pair well with a slightly longer, softer fringe that breaks up the strong jawline, rather than a very short, blunt one.
- Long faces: May want to keep the crown lift more moderate and let the fringe sit a bit lower on the forehead, since too much height can make the face look longer.
- Heart-shaped faces: Usually do well with a fringe that has some width across the forehead, which balances a narrower chin.
How It Compares to Similar Cuts
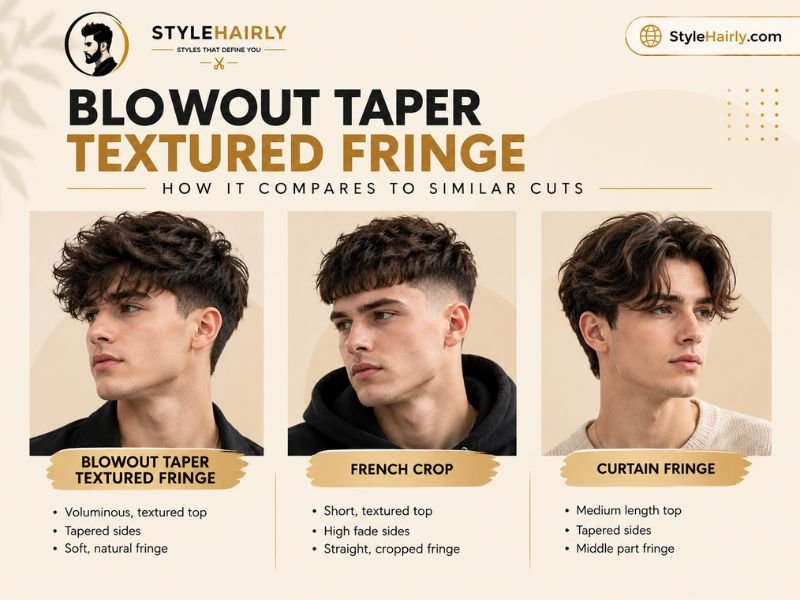
| Feature | Blowout Taper Textured Fringe | French Crop | Curtain Fringe |
| Side treatment | Tapered, gradual fade | Short taper, sometimes skin fade | Taper or longer sides |
| Top length | Medium to long, pushed forward | Short, cropped | Medium to long, parted center |
| Fringe direction | Forward and slightly down | Forward, minimal styling | Split to both sides |
| Styling effort | Moderate, needs a round brush | Low, mostly texturizing paste | Moderate, needs a comb |
| Best texture match | Straight to wavy | Straight to curly | Straight to wavy |
Pros and Cons
Pros
- Adds noticeable volume and shape compared to a flat-drying cut
- The taper keeps the sides low maintenance between trims
- Works with several face shapes when the fringe length is adjusted
- Textured ends hide some regrowth between barber visits
Cons
- Requires a round brush and a few minutes of daily styling time
- Very curly or coily hair needs a modified routine to get the same effect
- The taper edges need regular trimming to avoid looking overgrown
- Thick hair can look bulky on top without proper thinning
Who This Version Suits
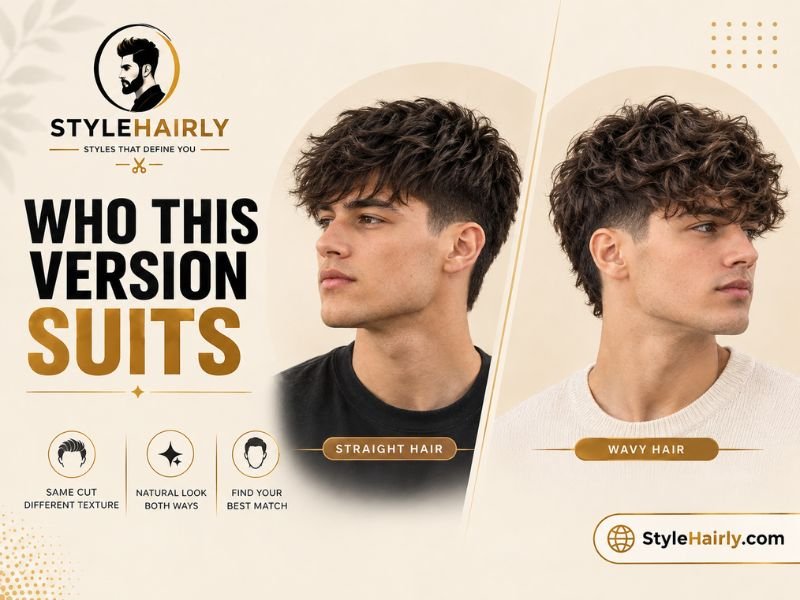
This style tends to work best for people who already blow-dry their hair regularly or are willing to add that step to their routine, since the finished look depends on it rather than happening naturally after air-drying.
It suits people with straight to wavy hair in the medium to thick density range most easily, because that combination holds a blow-dried shape without extra product layering. Fine, straight hair can still wear it well but usually needs a volumizing product at the root to prevent the crown from falling within a few hours. Curly hair can adapt the cut but will look closer to a textured curly fringe than a sharply defined blowout shape unless a diffuser and firm styling cream are used consistently.
It is also a good fit for anyone who wants a change from a fully faded or buzzed look but still wants the sides kept short and neat. If you prefer wash-and-go styling with little to no daily effort, a shorter crop or a low-maintenance fringe alternative may suit your routine better than this cut.
How to Style a Blowout Taper Textured Fringe
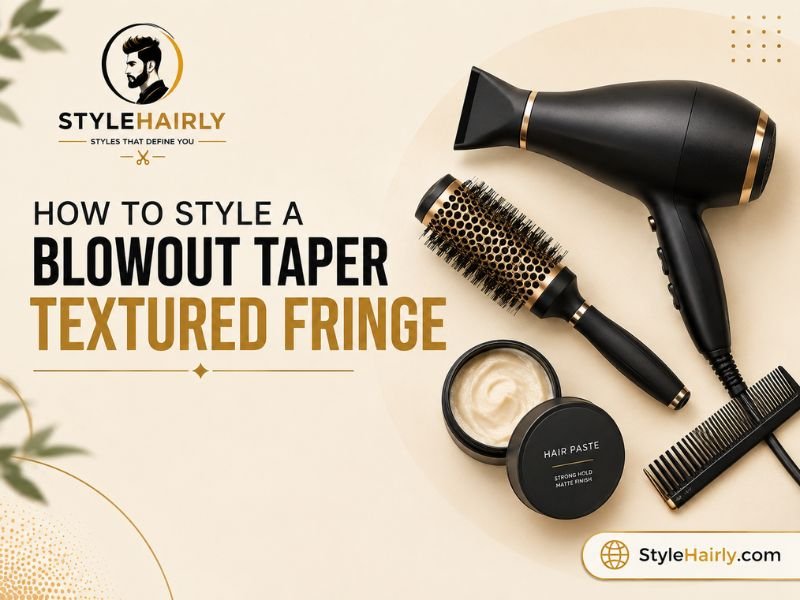
Getting the finished shape depends less on the haircut itself and more on the order you dry each section in. Drying the crown before the fringe, and finishing with a cool shot before applying product, is what keeps the shape from collapsing within the first hour.
You will need a round brush (medium barrel for shorter fringes, larger barrel for longer ones), a blow dryer with a concentrator nozzle and a cool shot setting, a heat protectant spray, and a matte paste or clay for the final step.
Start Damp, Protect First
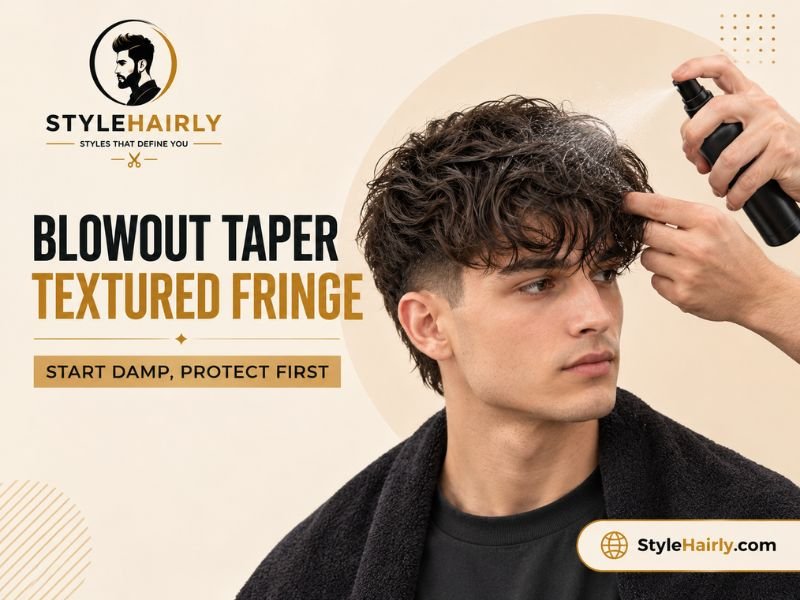
Begin with hair that is towel-dried to about 70 to 80 percent dry, not soaking wet. Fully wet hair takes too long to dry and increases heat exposure, while completely dry hair will not hold a new shape as well. Apply a heat protectant spray evenly through the top section before you turn the dryer on, focusing on the fringe area since that hair usually takes the most direct heat.
Blow the Crown Up and Back
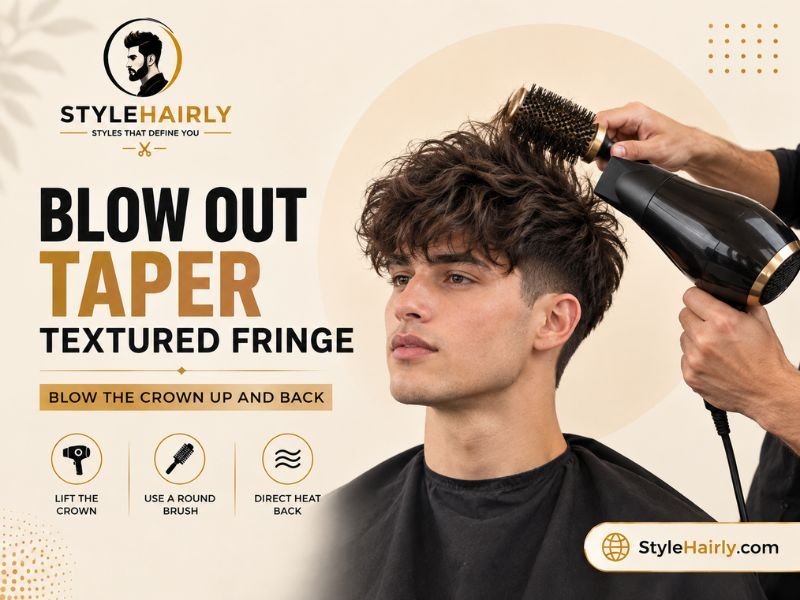
Take a section at the crown and lift it straight up with the round brush, directing warm air from the roots to the mid-lengths. Hold the brush at the root for a few seconds before pulling it through, since this is what builds the lift that supports the rest of the style. Work in small sections across the crown rather than trying to dry the whole top area at once.
Blow the Fringe Forward and Down
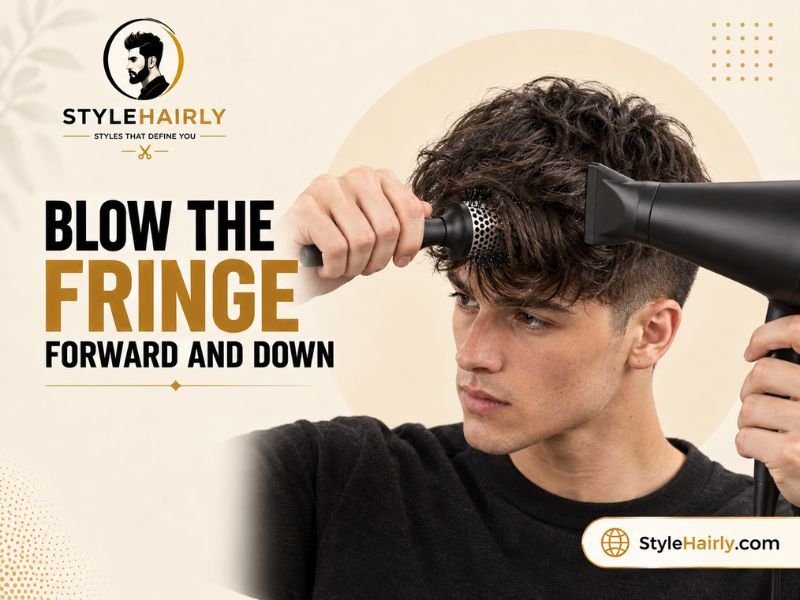
Move to the front section and change direction. Instead of lifting up, pull the round brush forward and slightly down toward the forehead, following with the dryer nozzle angled downward as well. This trains the fringe to fall forward with a slight curve rather than sticking straight up or falling flat to one side.
Cool Shot to Set

Once each section is dry, switch the dryer to its cool shot setting and hold it over the same section for 5 to 10 seconds. The cool air closes the hair cuticle around the new shape, which is what makes the lift and forward direction last through the day instead of relaxing back to flat within the first hour.
Finish With Matte Texture

Once the hair is fully cool, work a small amount of matte paste or texturizing clay between your palms and apply it starting at the mid-lengths of the fringe, not the roots. Use your fingers to separate individual pieces rather than combing through, which is what creates the broken, textured look instead of a smooth, helmet-like finish. Add a small amount to the crown if you want extra separation there as well.
What to Ask Your Barber For
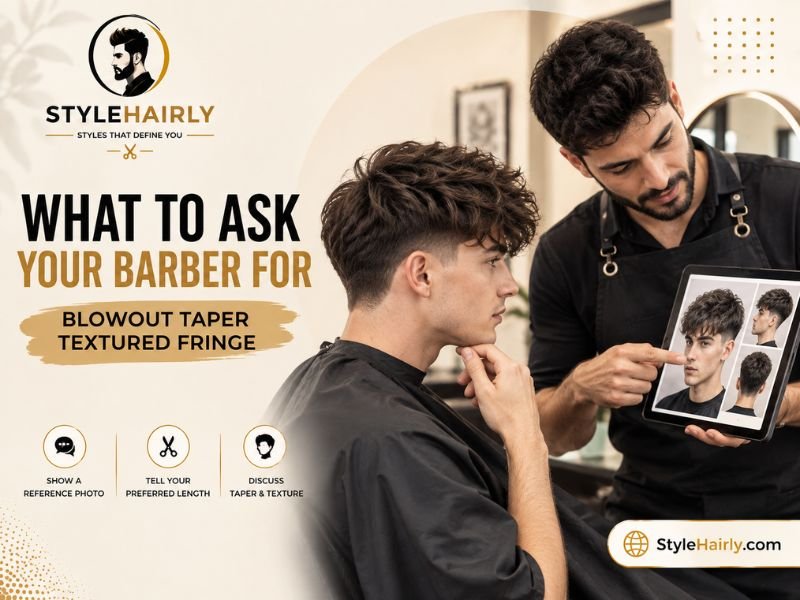
Being specific with your barber is what separates a cut that styles easily from one that fights you every morning. Bring a reference photo if you have one, but also describe these details in your own words.
- Taper length and gradient: Specify whether you want the taper to start high (closer to the crown) or low (closer to the neckline), and whether you want it blended gradually or with more contrast.
- Top length: State roughly how far forward you want the fringe to reach, such as “just above the eyebrows” or “long enough to push past the brow,” since this affects how much length the barber leaves.
- Texturizing: Ask for point cutting or texturizing shears specifically in the fringe, especially if your hair is thick, so the ends separate instead of falling in one solid block.
- Weight removal: If your hair is dense, mention that you want some weight taken out on top so the finished blowout does not look heavy or helmet-like.
- What to avoid: If you dislike a hard line between the taper and the top length, say so directly, since barbers can blend that transition more gradually on request.
Maintenance Reality Check
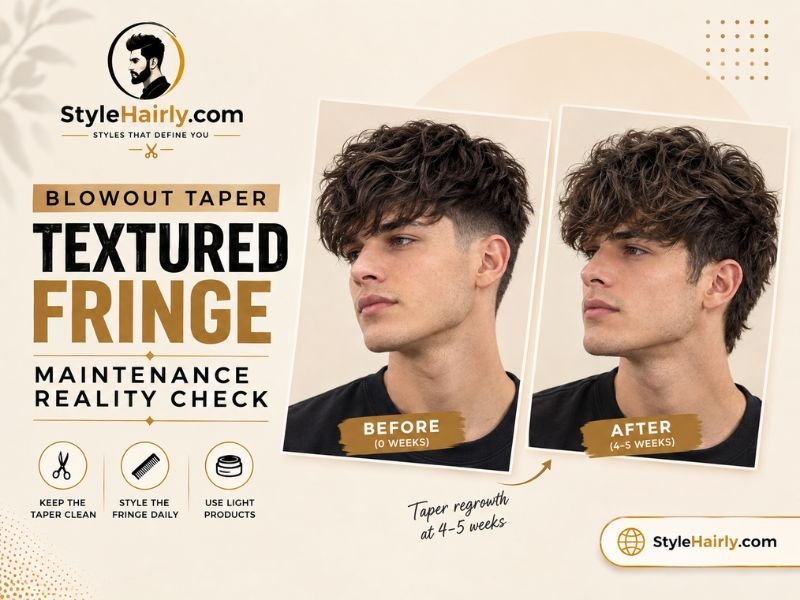
The taper is the part of this haircut that needs the most consistent upkeep, since it grows out visibly faster than the longer top section. Most people need a trim every 3 to 5 weeks to keep the taper looking intentional rather than overgrown, though finer or slower-growing hair can sometimes stretch to 6 weeks between visits.
The top and fringe length can generally go longer between trims since some growth on top does not disrupt the shape the way taper regrowth does. A light trim of the fringe every 5 to 7 weeks is usually enough to keep the ends textured and prevent them from getting too heavy to hold the forward direction.
Daily maintenance is mostly about the blow-dry routine described above. Skipping the round brush step and air-drying instead will usually result in a flatter, less defined shape, since the volume and forward direction do not happen without deliberate styling. If you are not willing to spend 5 to 10 minutes styling most days, it is worth mentioning that to your barber so they can adjust the cut toward something that holds its shape with less daily effort.
Frequently Asked Questions
Is a blowout taper textured fringe good for thin hair?
Yes, it can work well for thin hair as long as a volumizing product is applied at the roots before blow-drying. The lift created by the round brush technique is especially useful for thin hair since it adds the appearance of density that thin hair often lacks on its own.
Does this haircut work on curly hair?
It can, but the styling method usually needs to shift from a straight-nozzle blowout to a diffused dry with a firm hold cream. The result will look more like a textured curly fringe with some lift rather than the sharply directed shape you get on straight or wavy hair.
What face shape suits this style best?
Oval and heart-shaped faces tend to adapt to it most easily. Round faces generally look better with extra crown height and a fringe kept slightly off the forehead, while square faces often benefit from a softer, slightly longer fringe.
Is this haircut high maintenance?
The daily styling takes 5 to 10 minutes, and the taper needs a trim roughly every 3 to 5 weeks to stay clean. Compared to a low-effort crop, it requires more regular attention, but it is not as demanding as some fully styled pompadour or quiff cuts.
Can I style it without a round brush?
You can get a rougher version of the look using just your fingers and a diffuser or concentrator nozzle, but the crisp lift at the crown is much harder to achieve without a round brush. Most of the shape in this cut comes directly from that tool.
How long does the taper last before it needs reshaping?
Most people notice the taper starting to look overgrown around the 4 to 5 week mark, though this varies with hair growth rate. The top and fringe length can typically go longer, closer to 6 to 7 weeks, before a trim becomes necessary.
What products work best for the finishing step?
A matte clay or paste tends to work better than a shine-based pomade for this cut, since the goal is separated, textured pieces rather than a glossy, slicked finish. Applying it to mid-lengths rather than roots helps avoid weighing the crown down.
Conclusion
A blowout taper textured fringe comes down to two things working together: a taper that is kept clean with regular trims, and a blow-dry routine that lifts the crown before directing the fringe forward. Straight and wavy hair in the medium to thick range will find this the most straightforward cut to maintain, while fine hair and curly hair can both wear it with a few adjustments to product and drying technique.
If you are deciding whether this cut fits your routine, the honest answer depends on whether you are willing to spend a few minutes with a round brush most mornings. If you are, the shape holds up well and adapts to several face shapes with minor length adjustments. If daily styling is not something you want to commit to, it is worth telling your barber that upfront so they can cut it in a way that still looks intentional with less effort.

1 thought on “Blowout Taper Fringe: 5 Best Steps to Style It Right 2026”